Premium Growing Equipment
Professional-grade equipment for serious growers in Mauritius.
Showing 49 to 72 of 79 products

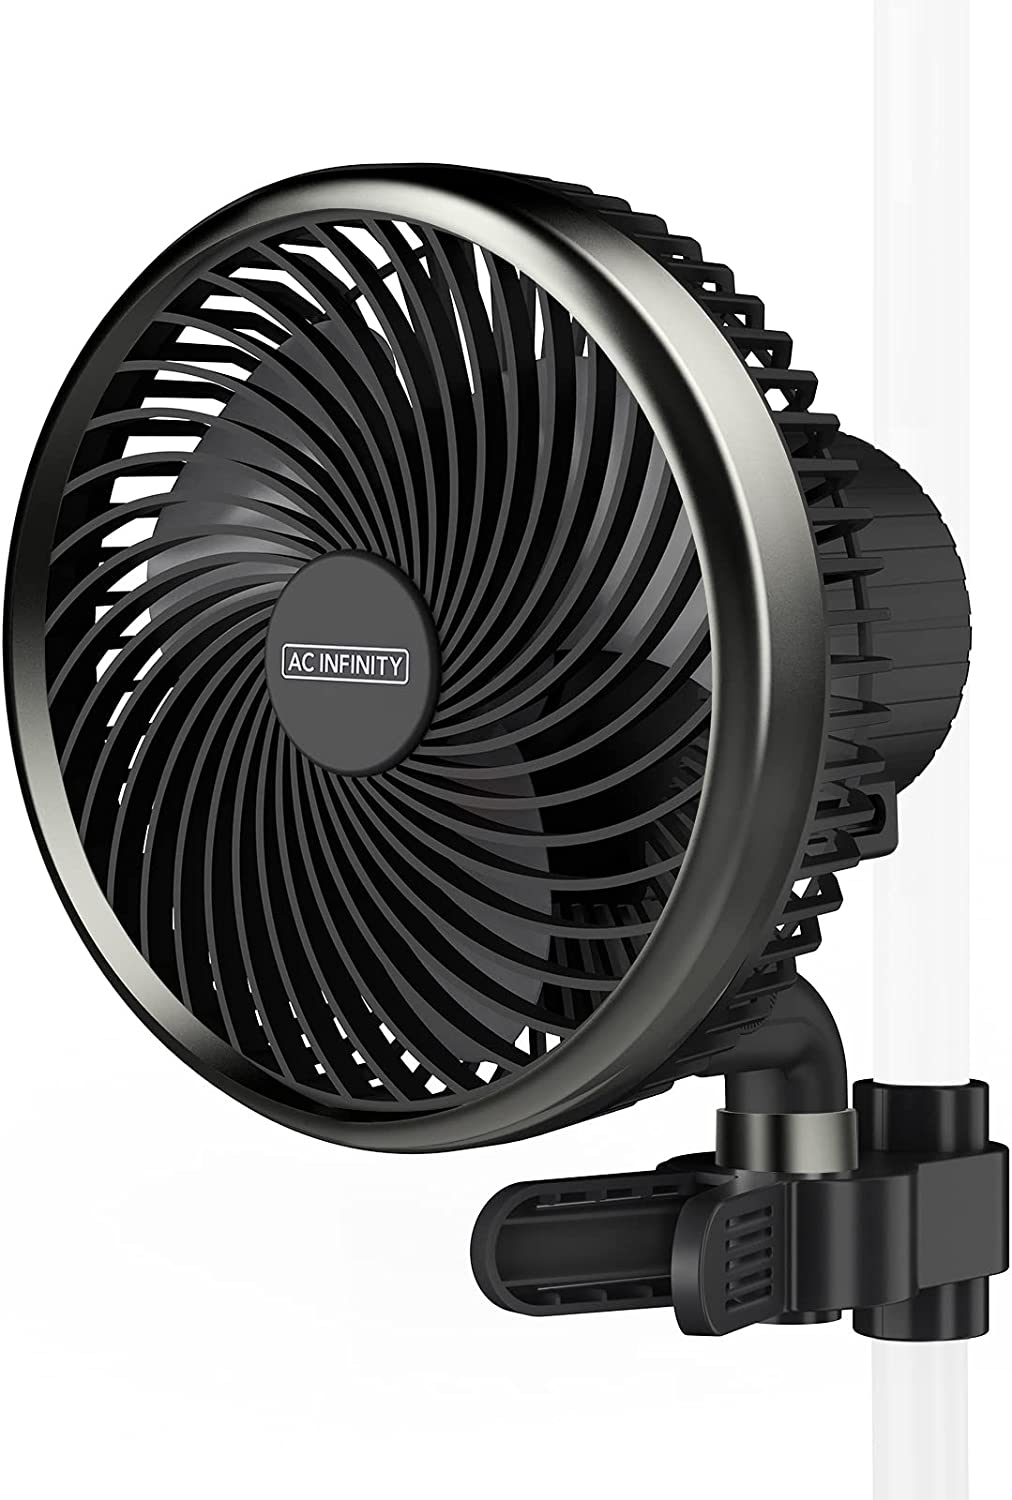
AC Infinity
AC Infinity CLOUDRAY S6
AC Infinity Accessory CLOUDRAY S6 6-inch grow tent...
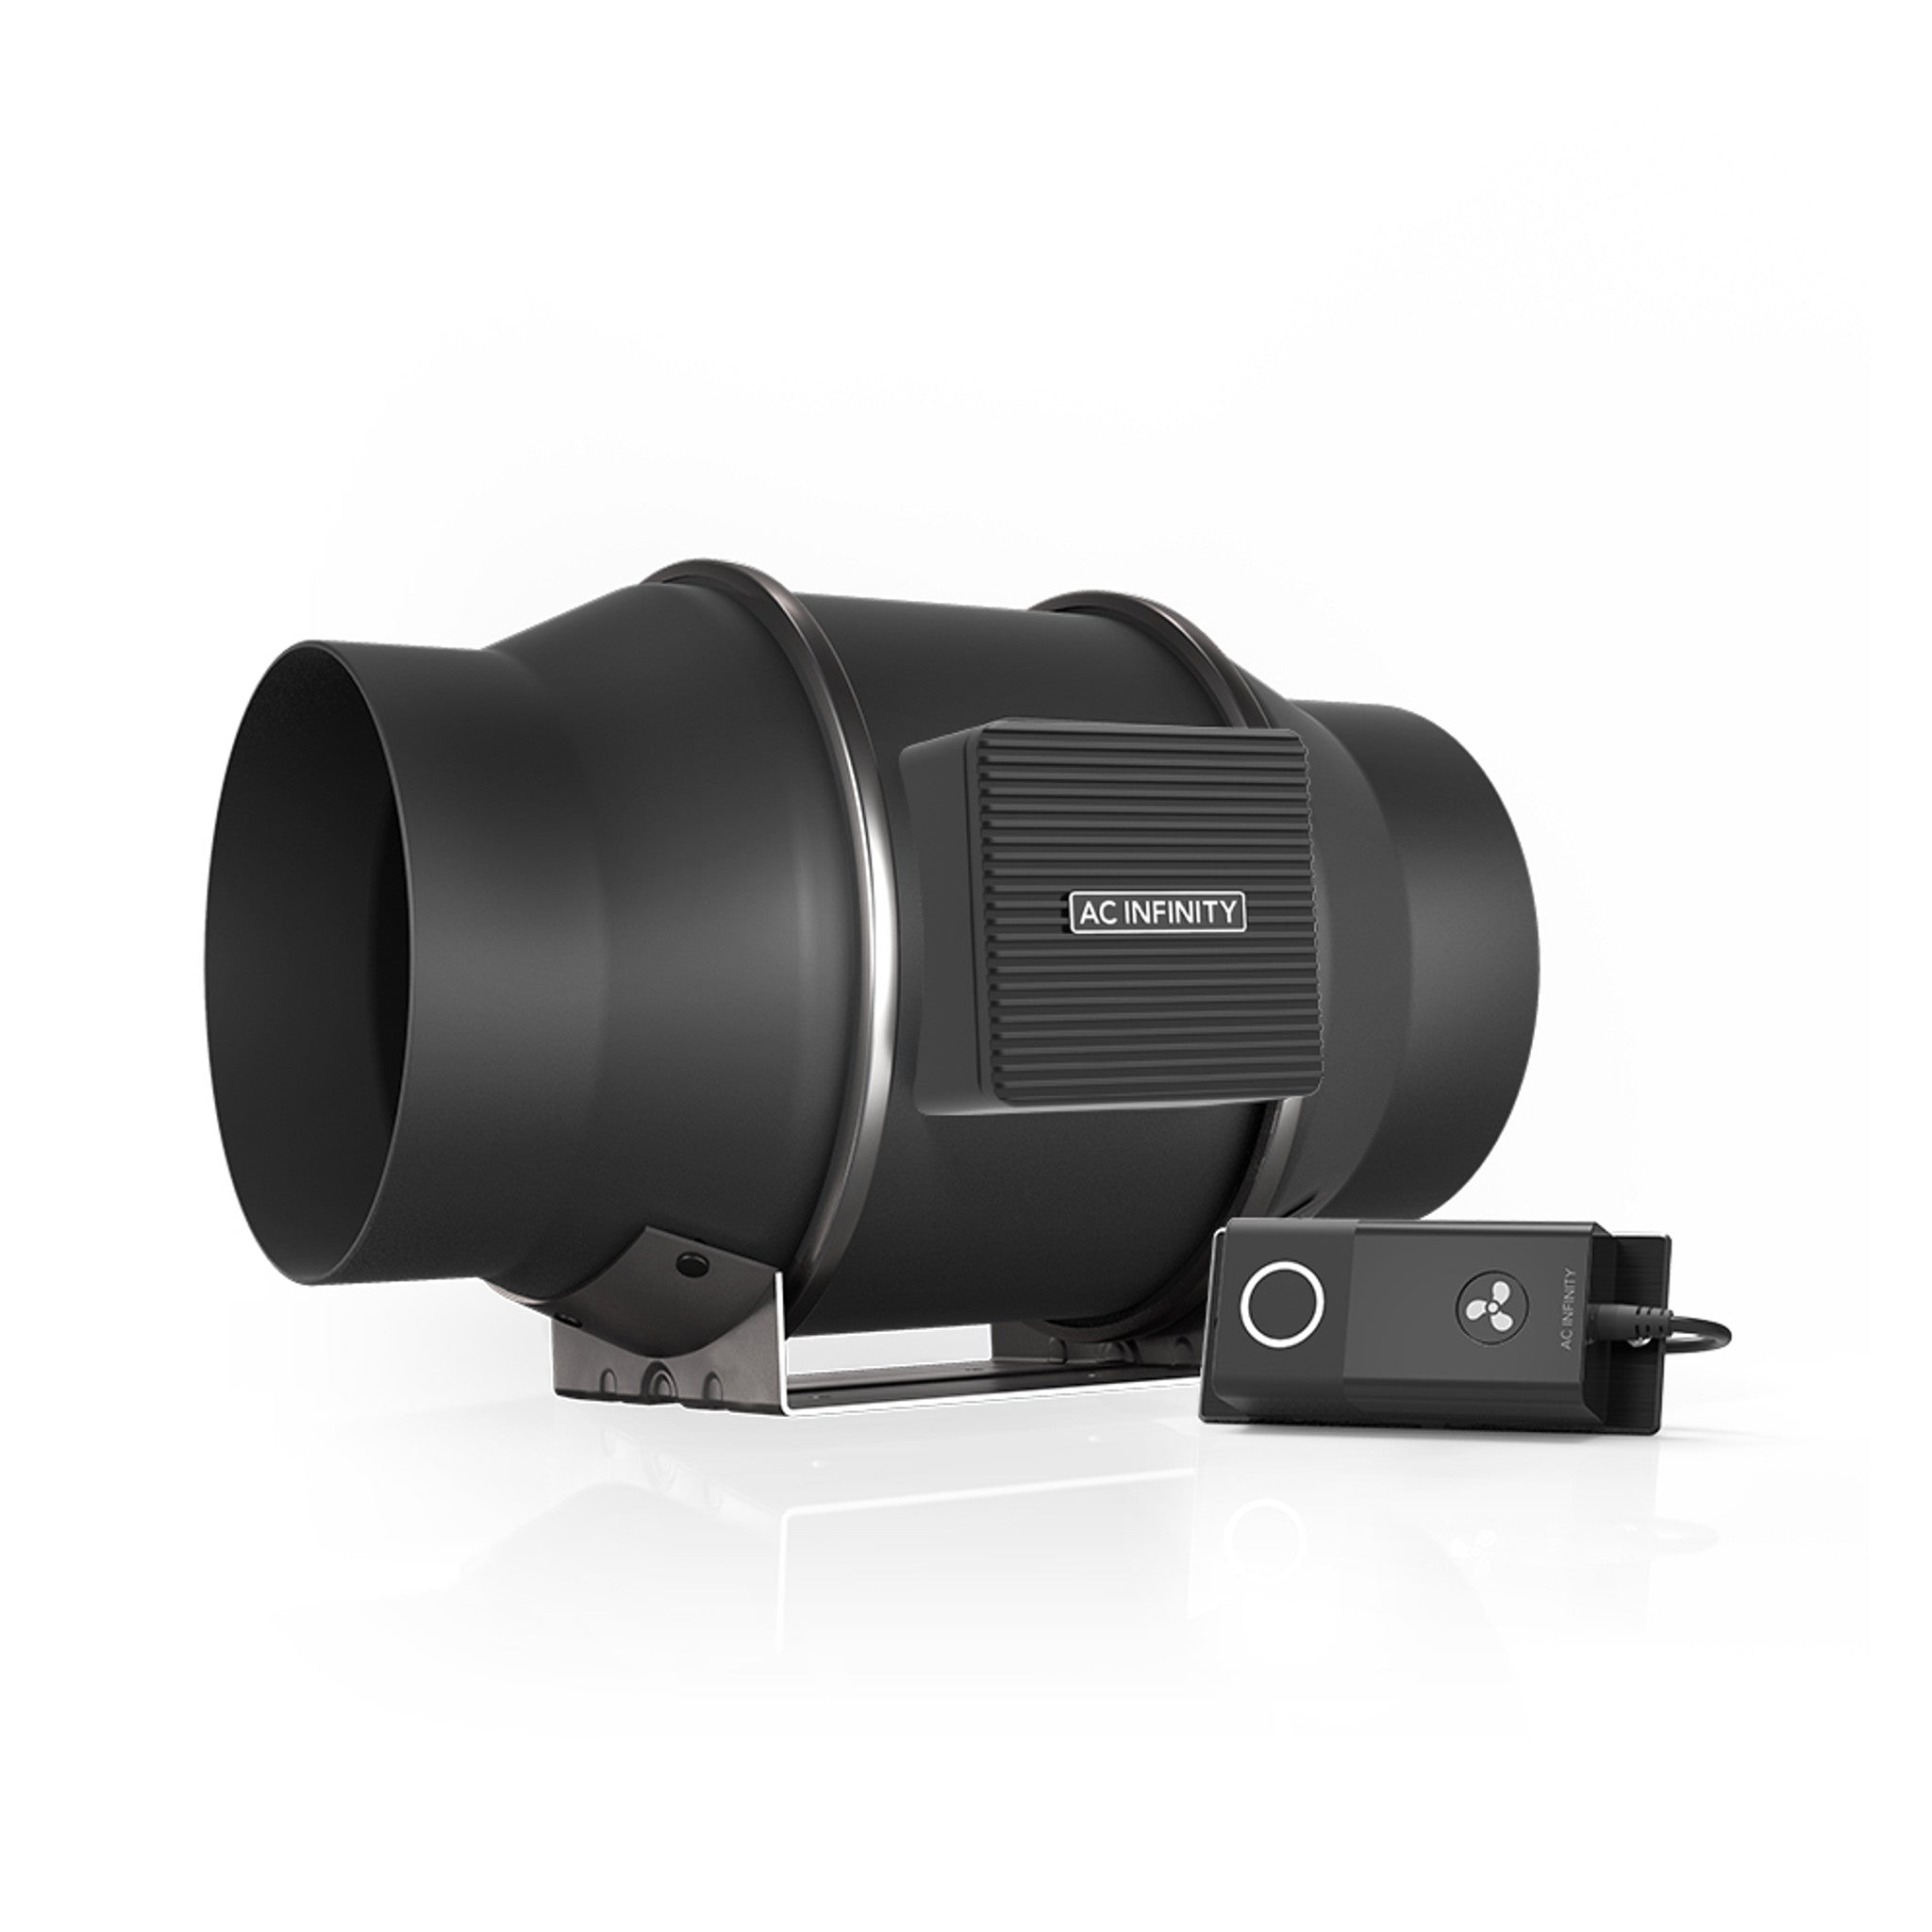
AC Infinity
AC Infinity CLOUDLINE S6
AC Infinity Ventilation 402 CFM...
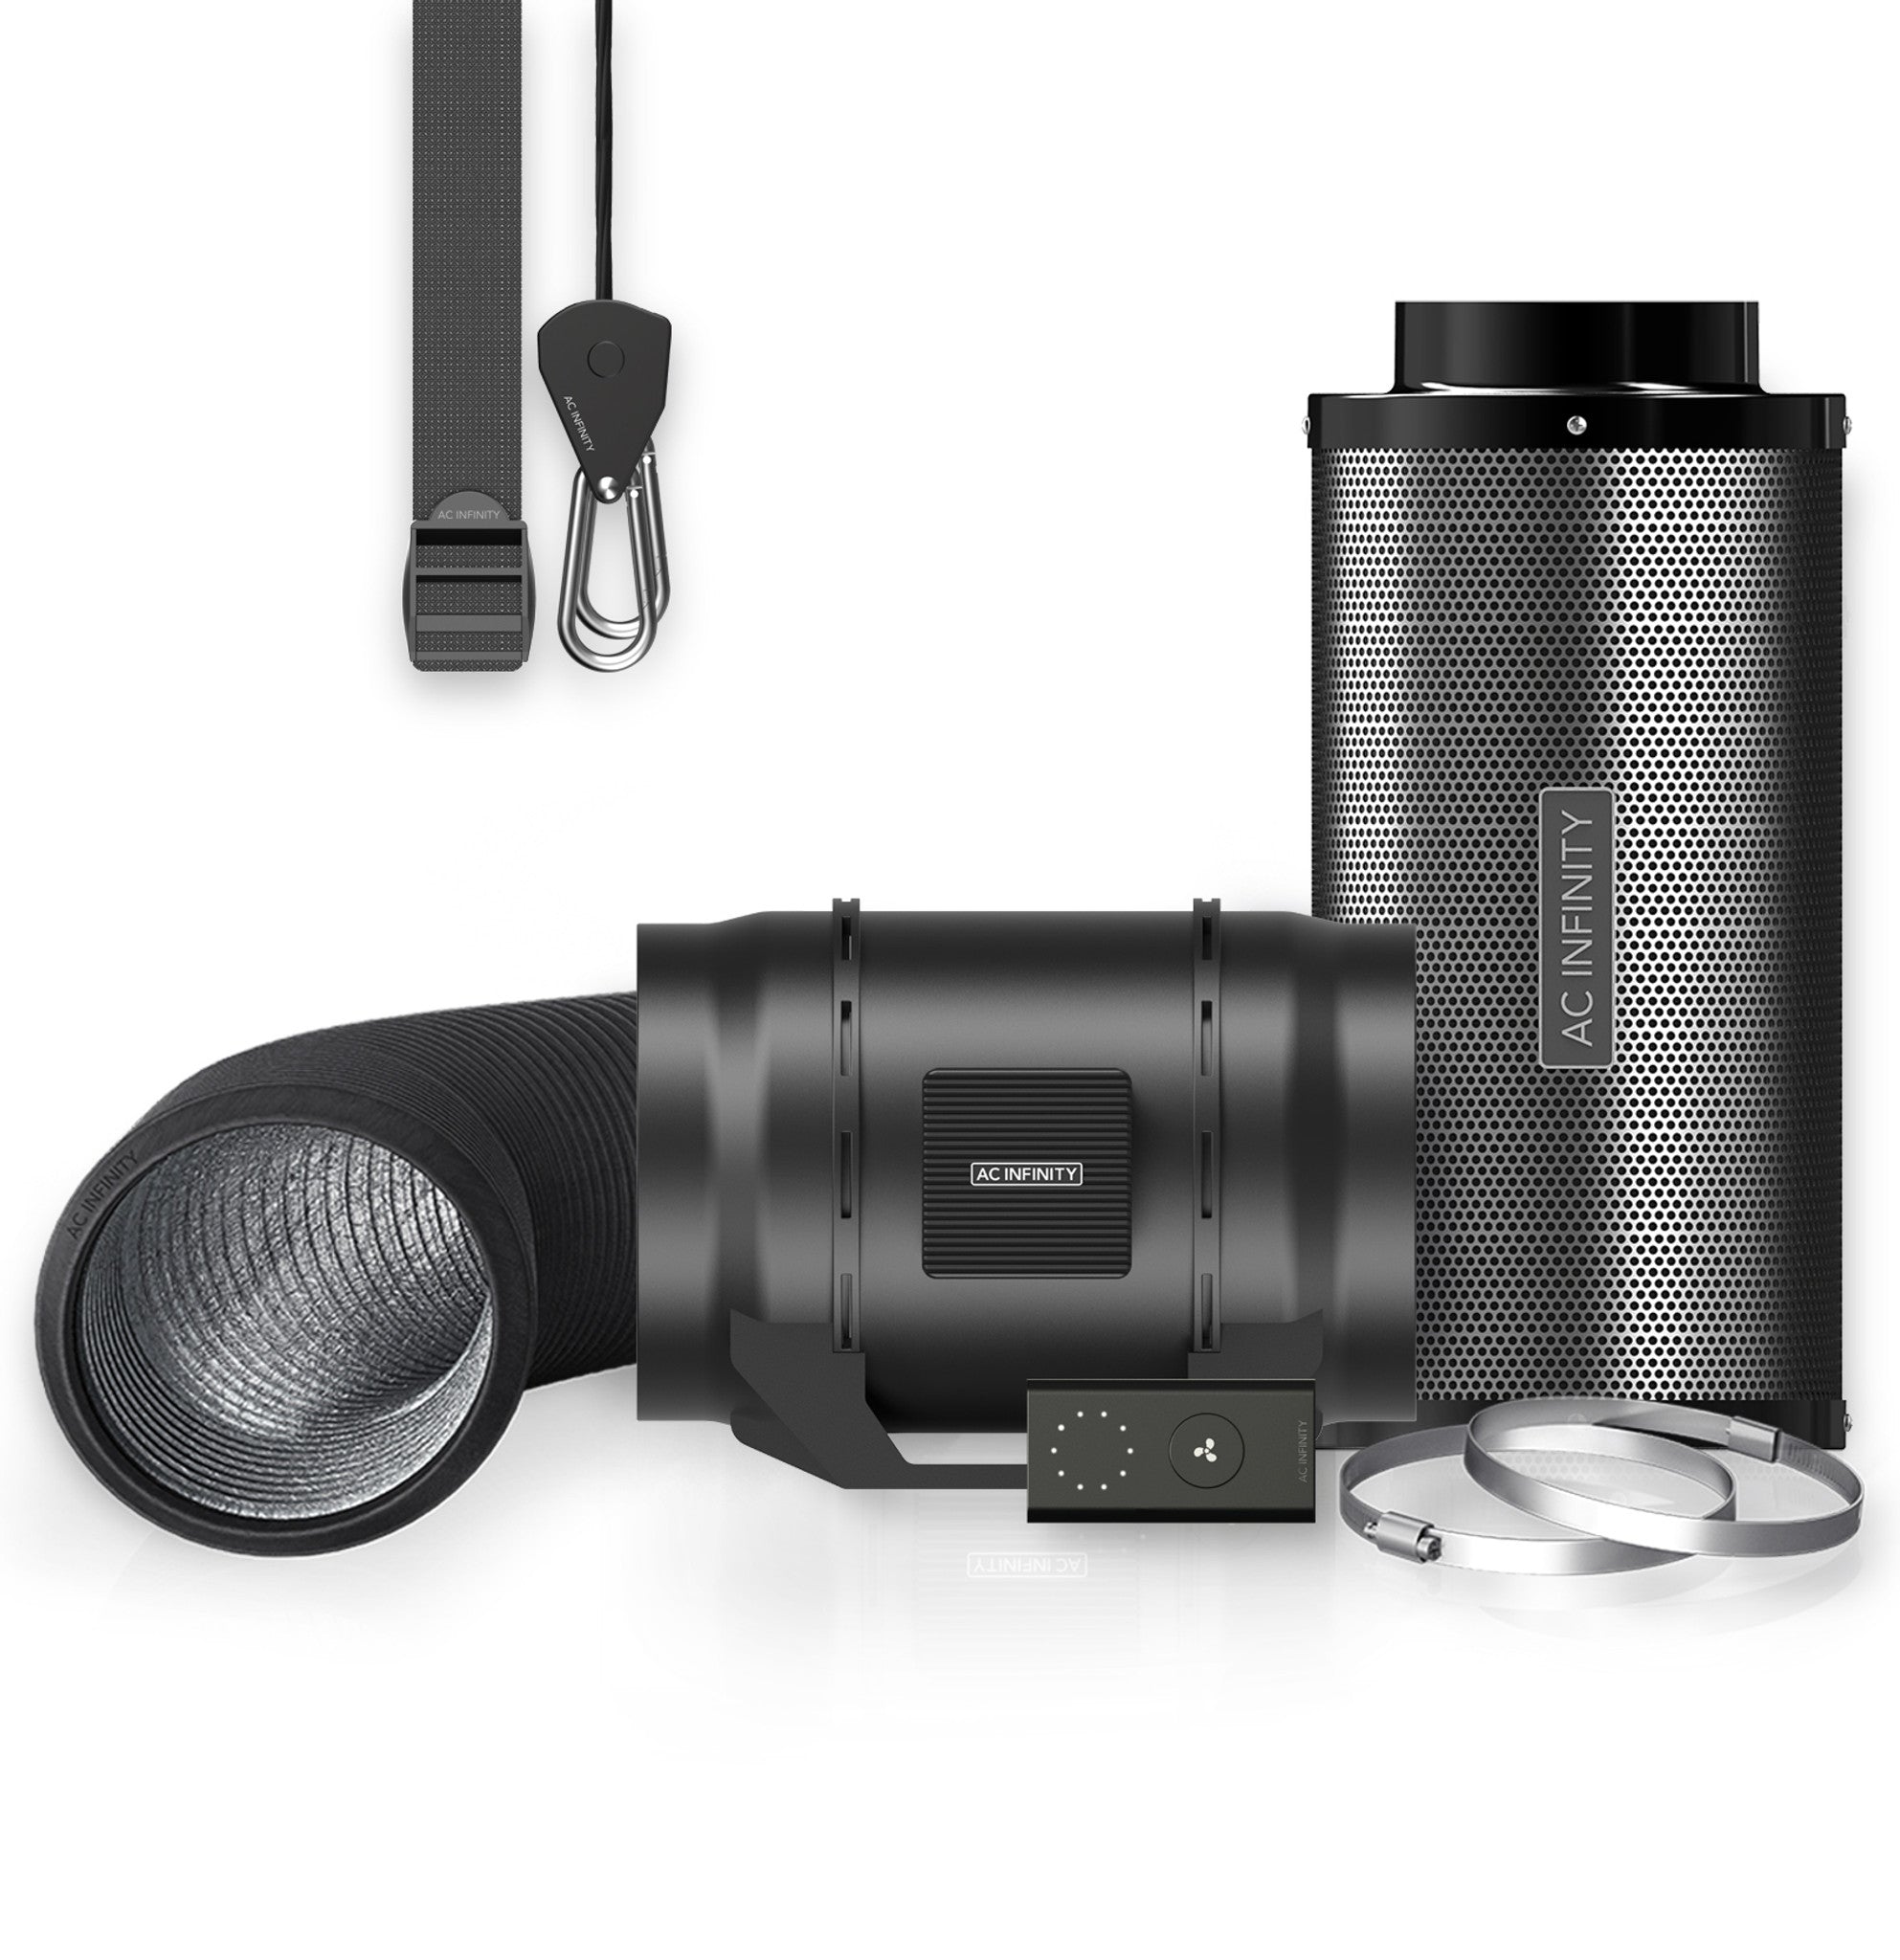
AC Infinity
AC Infinity AIR Filtration Kit 8″
AC Infinity Ventilation 740 CFM...
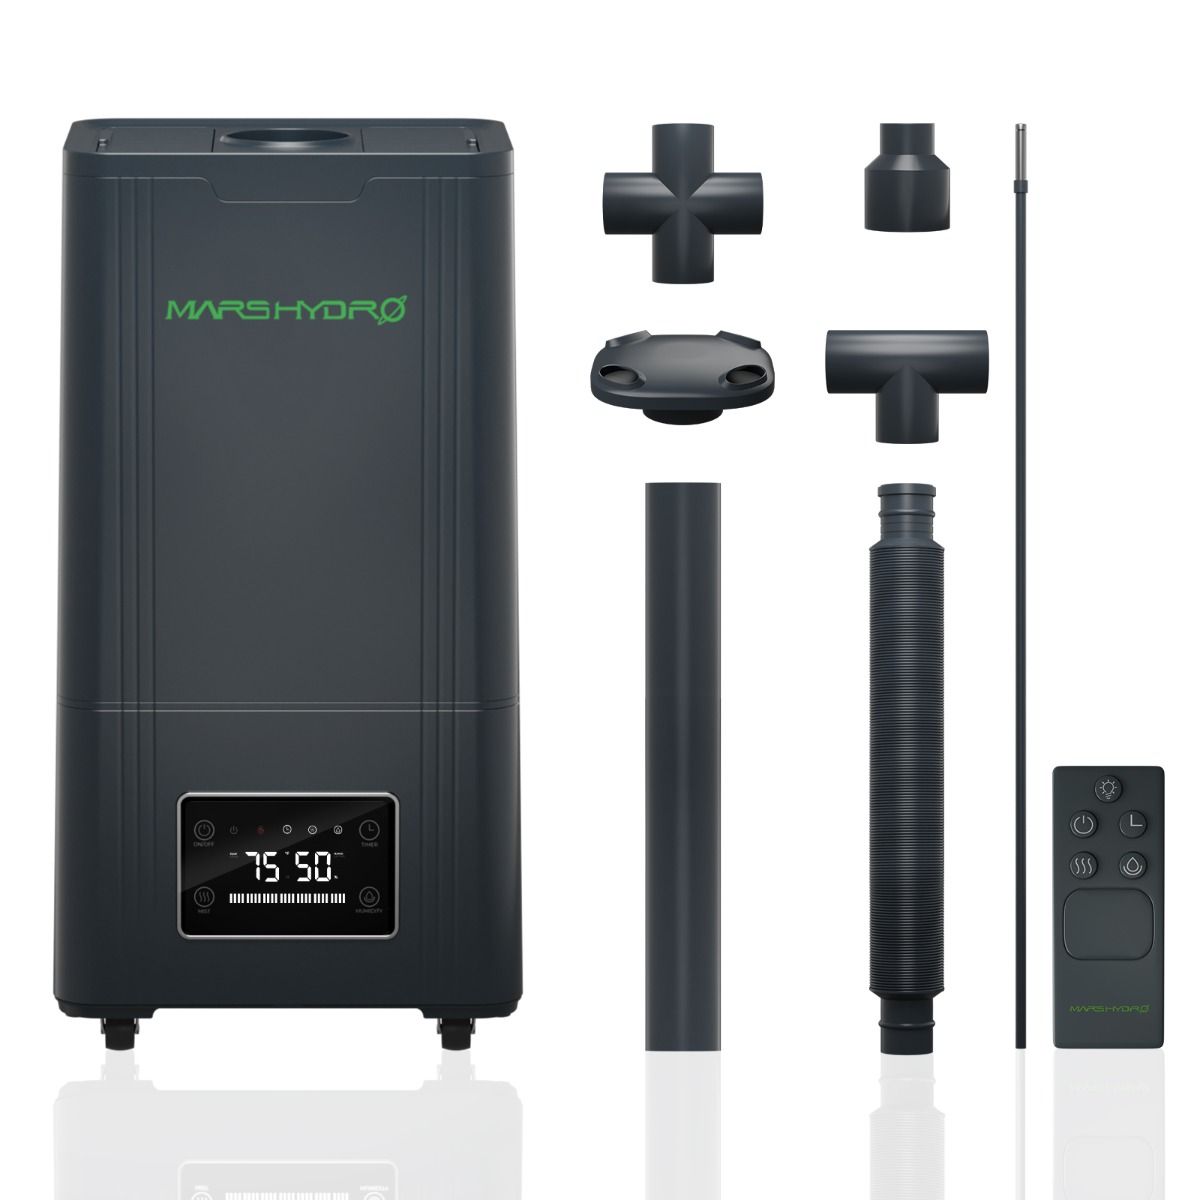
Mars Hydro
Mars Hydro 15L Large Humidifier for Plants with Ultrasonic Cool Mist, Temperature Humidity Sensor & Remote Control
Mars Hydro Climate 15L Tank 1...
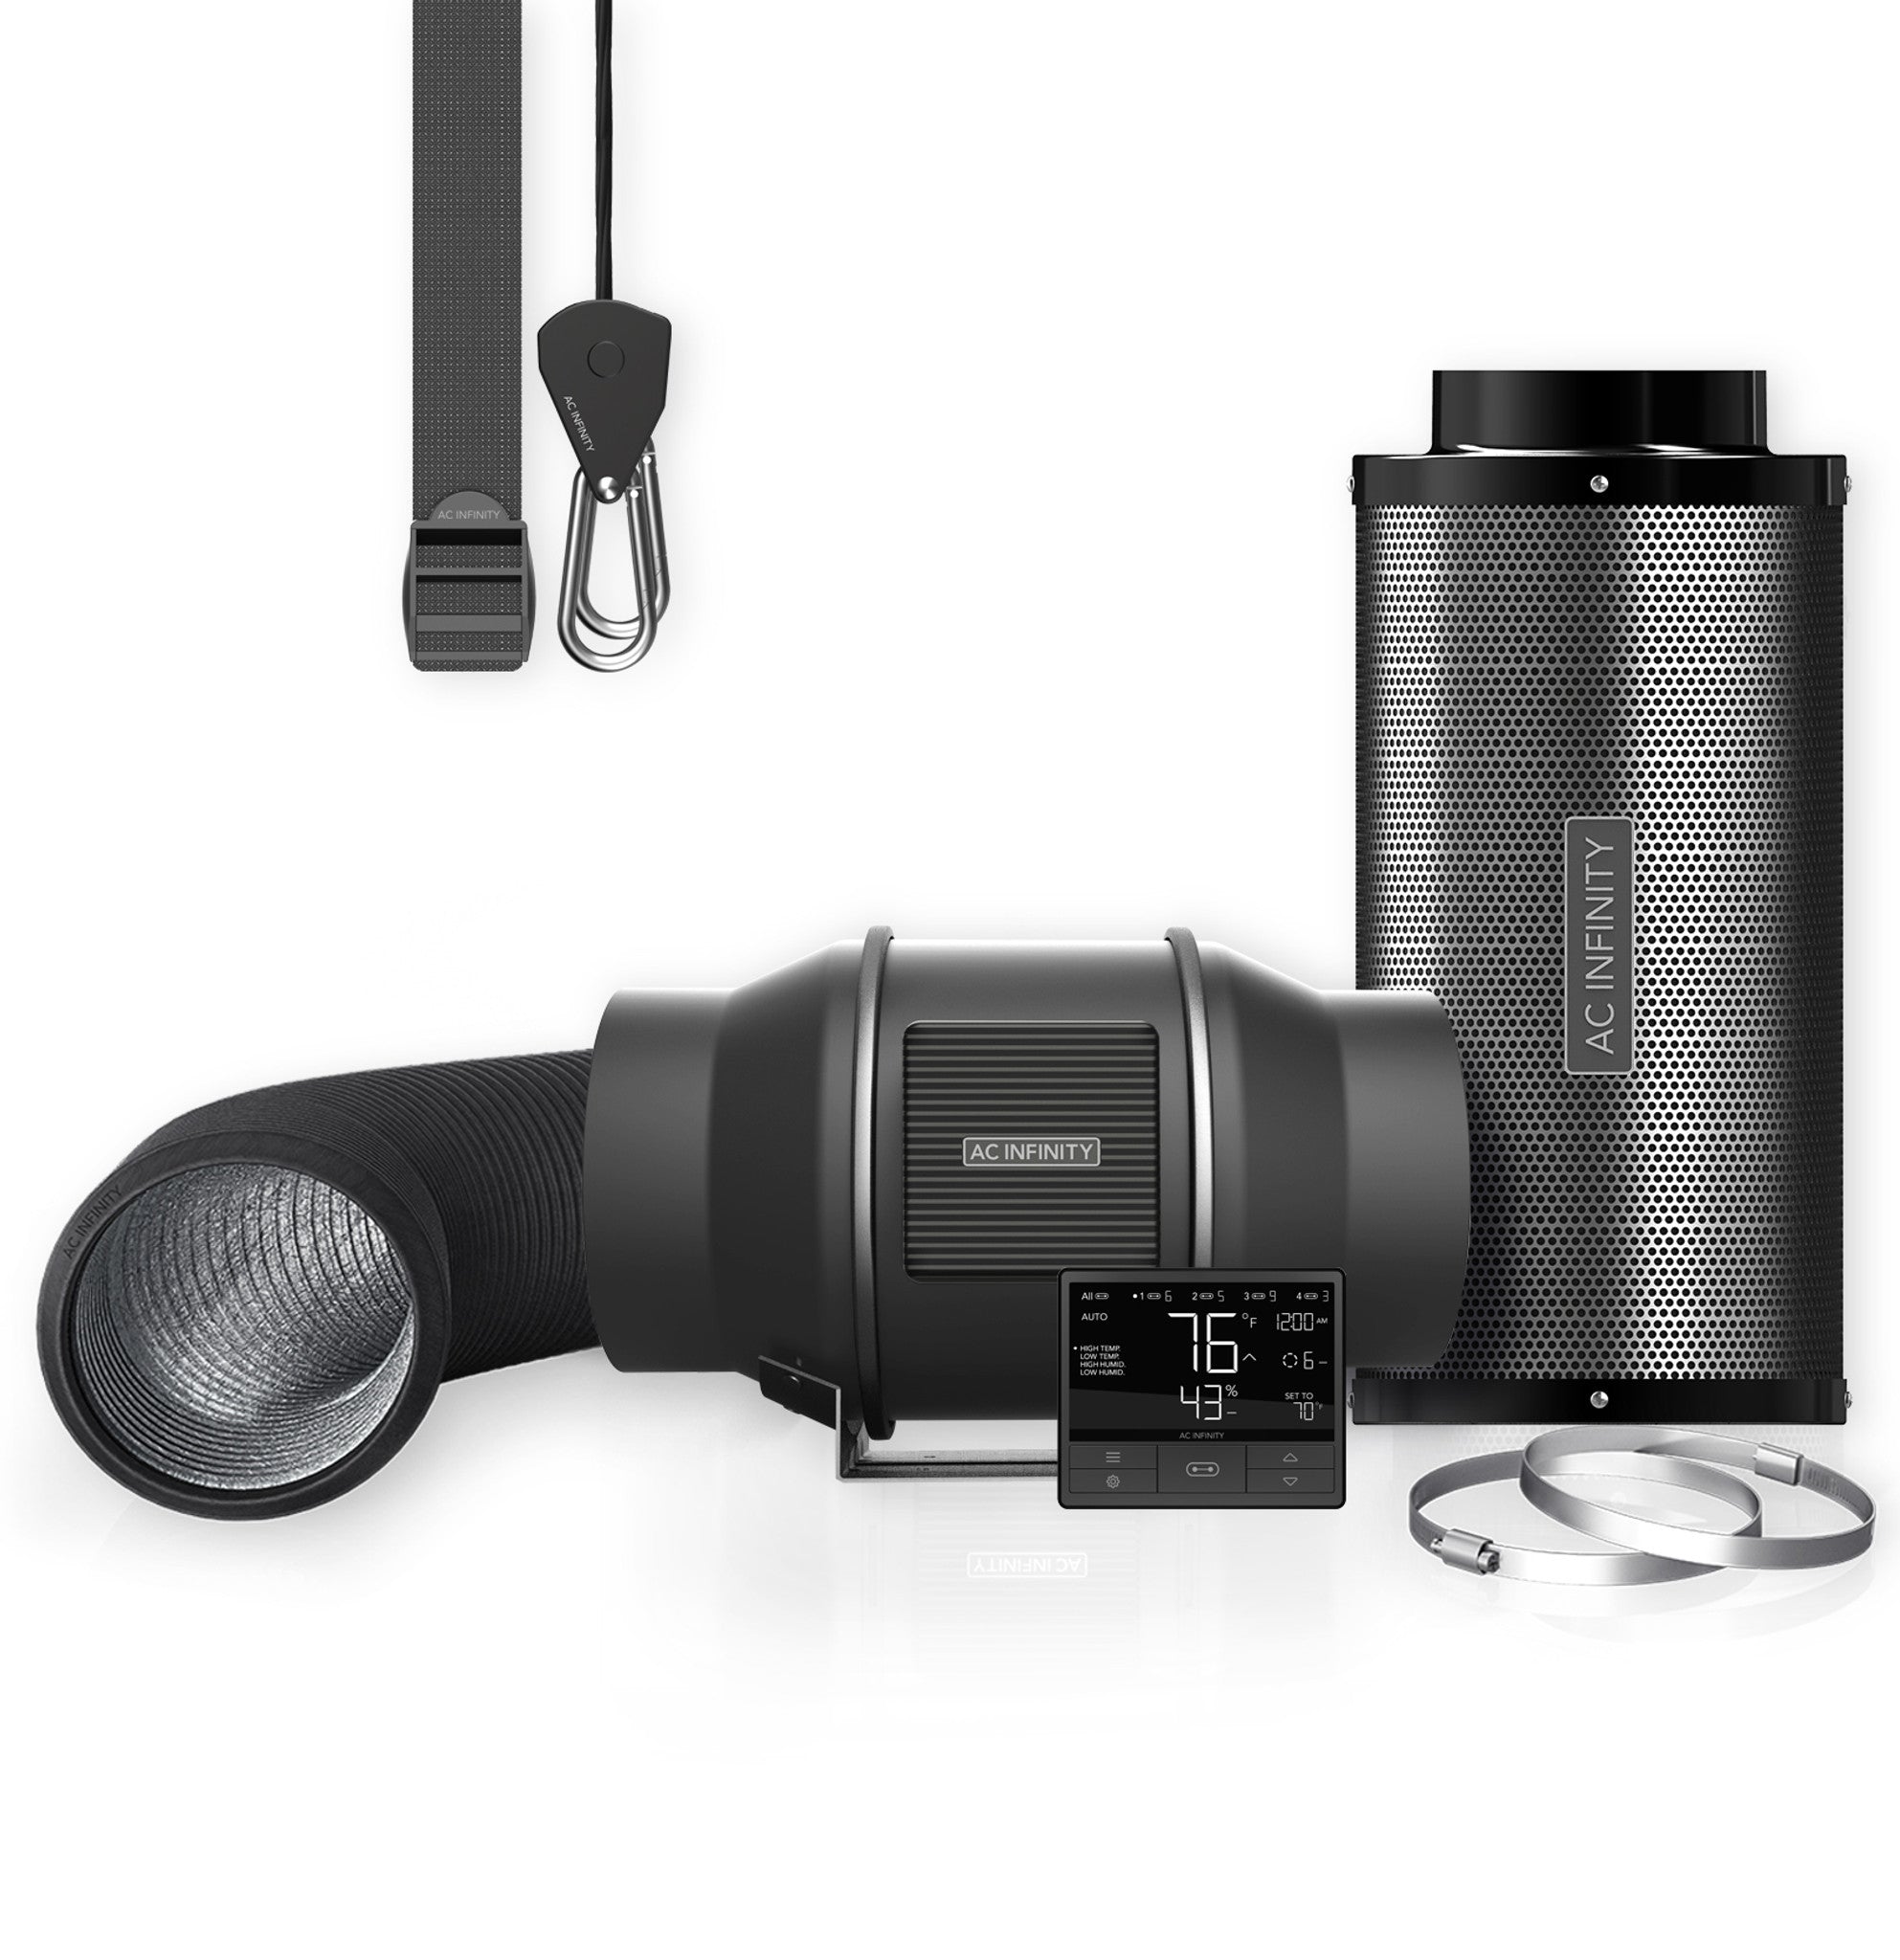
AC Infinity
AC Infinity AIR FILTRATION KIT PRO 6″
AC Infinity Ventilation 402 CFM...

AC Infinity
AC Infinity Air Filtration Kit PRO 8″ – SMART
AC Infinity Ventilation 807 CFM...

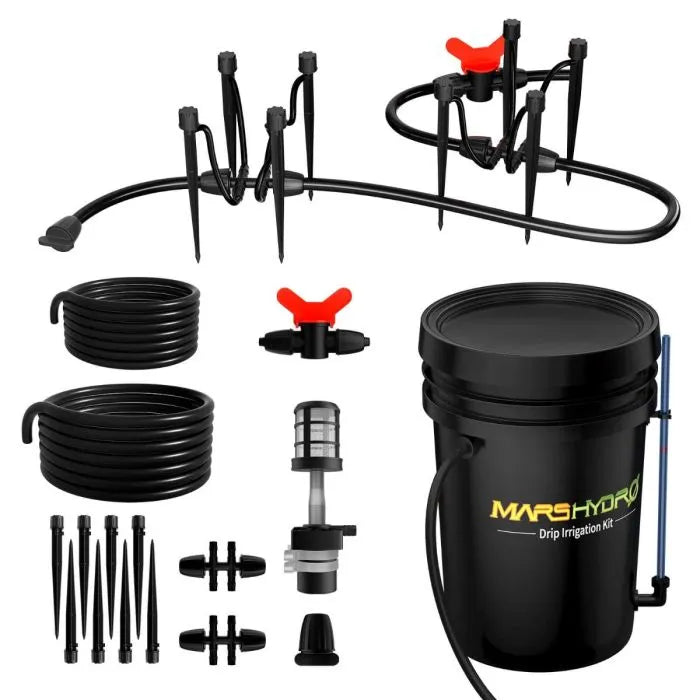
Mars Hydro
Mars Hydro Drip Irrigation Kits for 8 Indoor Growing Plants
Mars Hydro Irrigation 8 Plants...

Spider Farmer
Spider Farmer 9-in-1 Plant Grow Tools Kit
Spider Farmer Tools 9 Pieces...

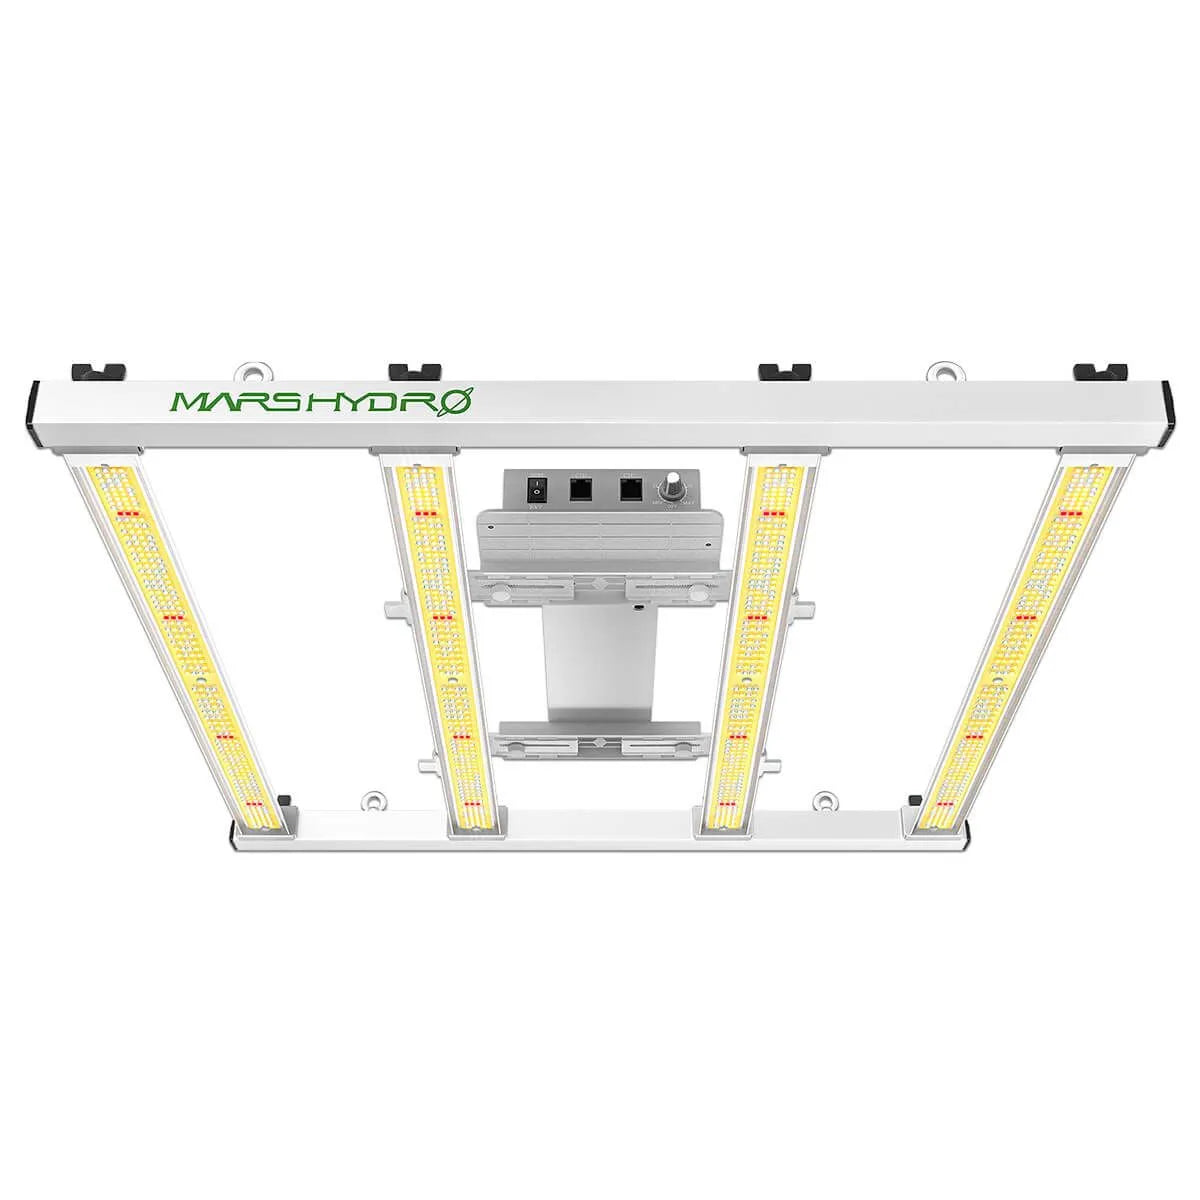
Spider Farmer
Spider Farmer® G5000
Professional G Series BridgeL...
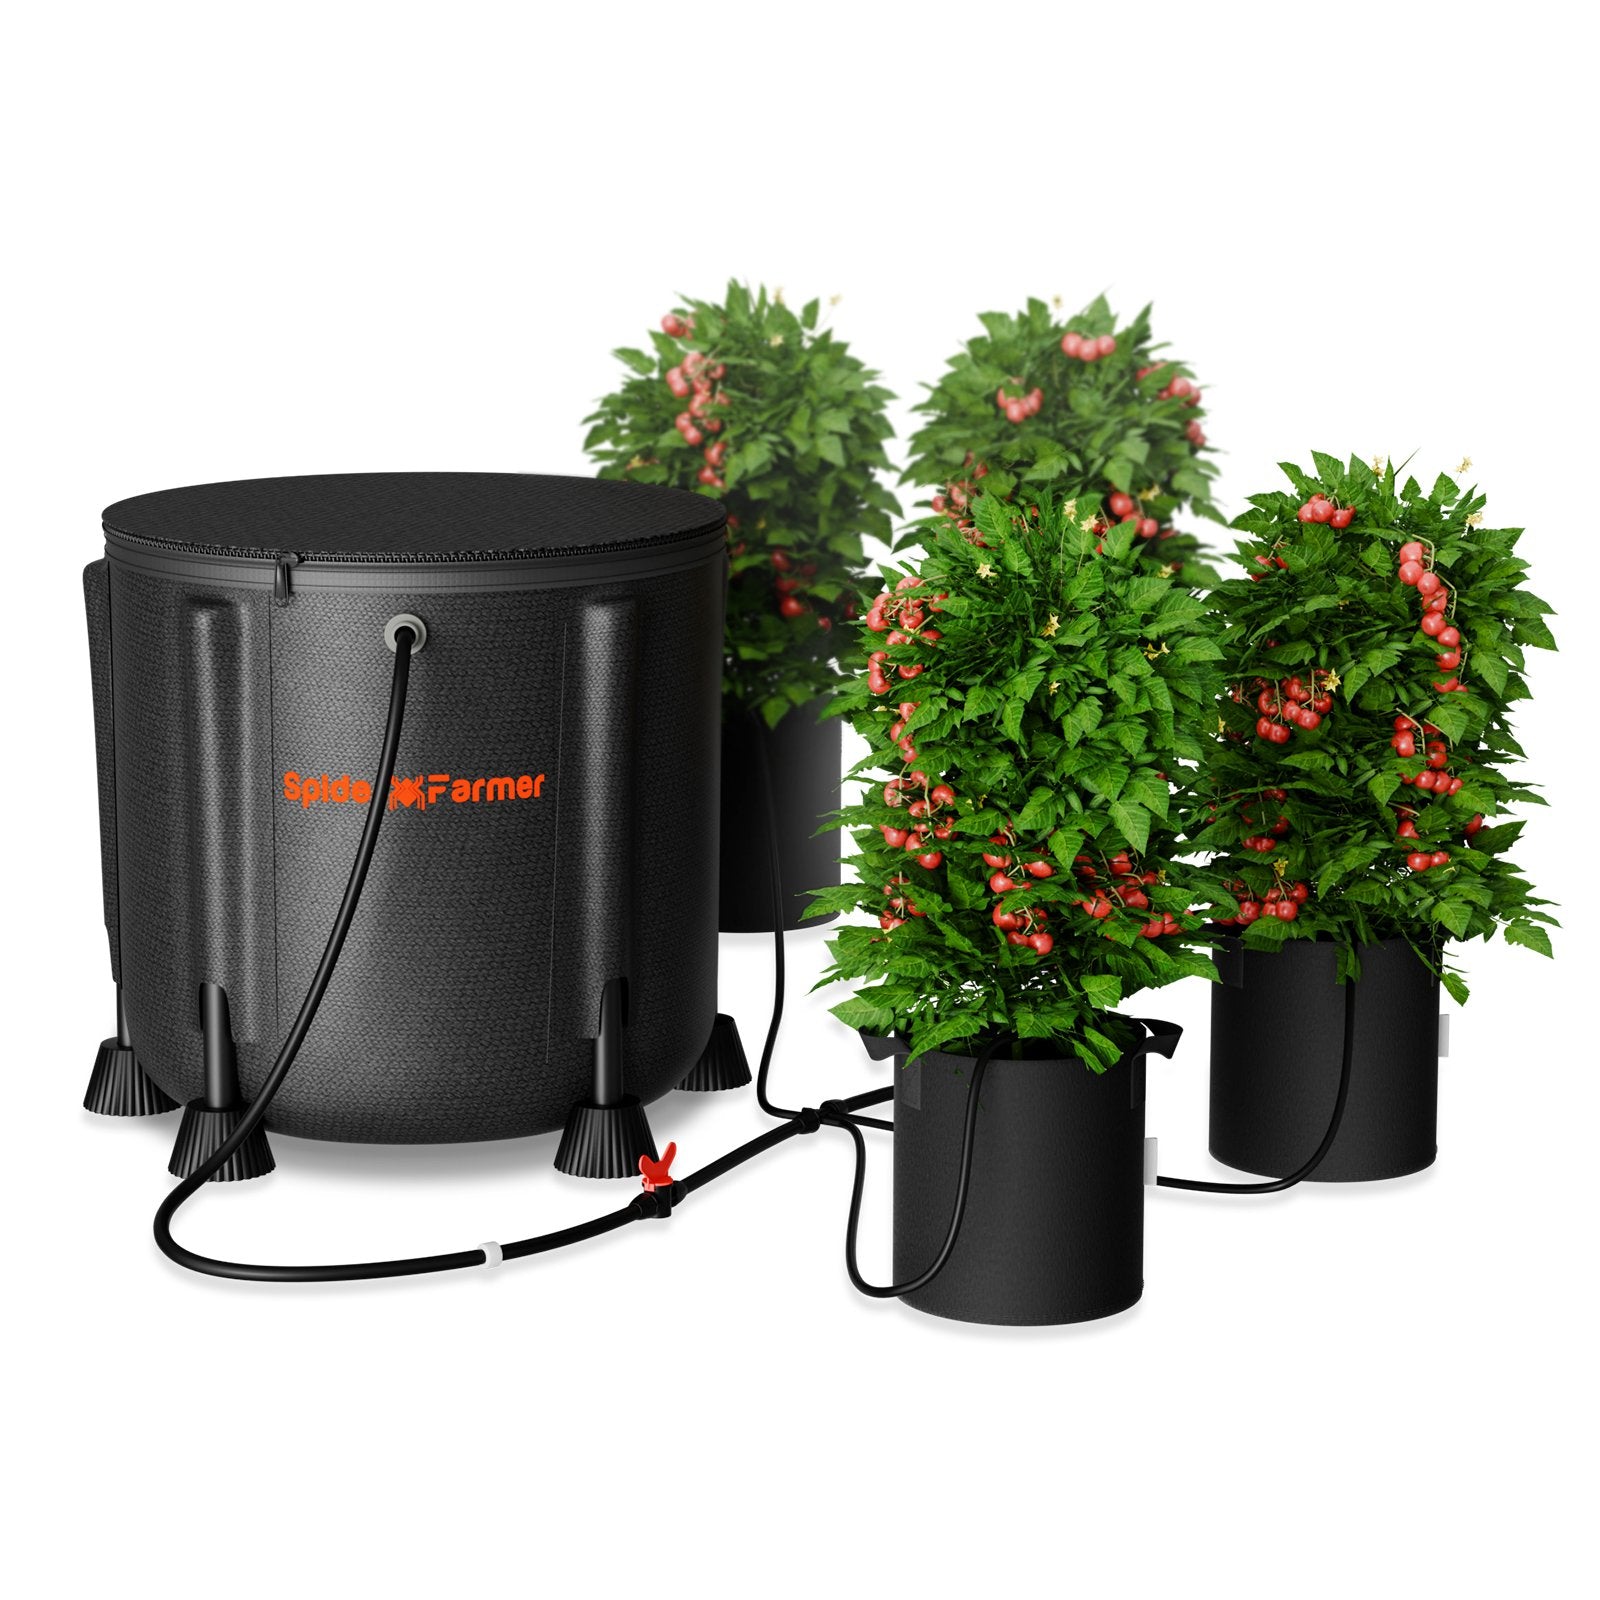
Spider Farmer
Spider Farmer® Automatic Drip Irrigation System for Plants Water Pump with 8 Drip Emitters
Spider Farmer Watering 25W Smart Pump...

Spider Farmer
Spider Farmer® 16L Cool Mist Humidifier Ultrasonic with Temperature & Humidity Probe
Spider Farmer Climate 16L (4.2 gal)...
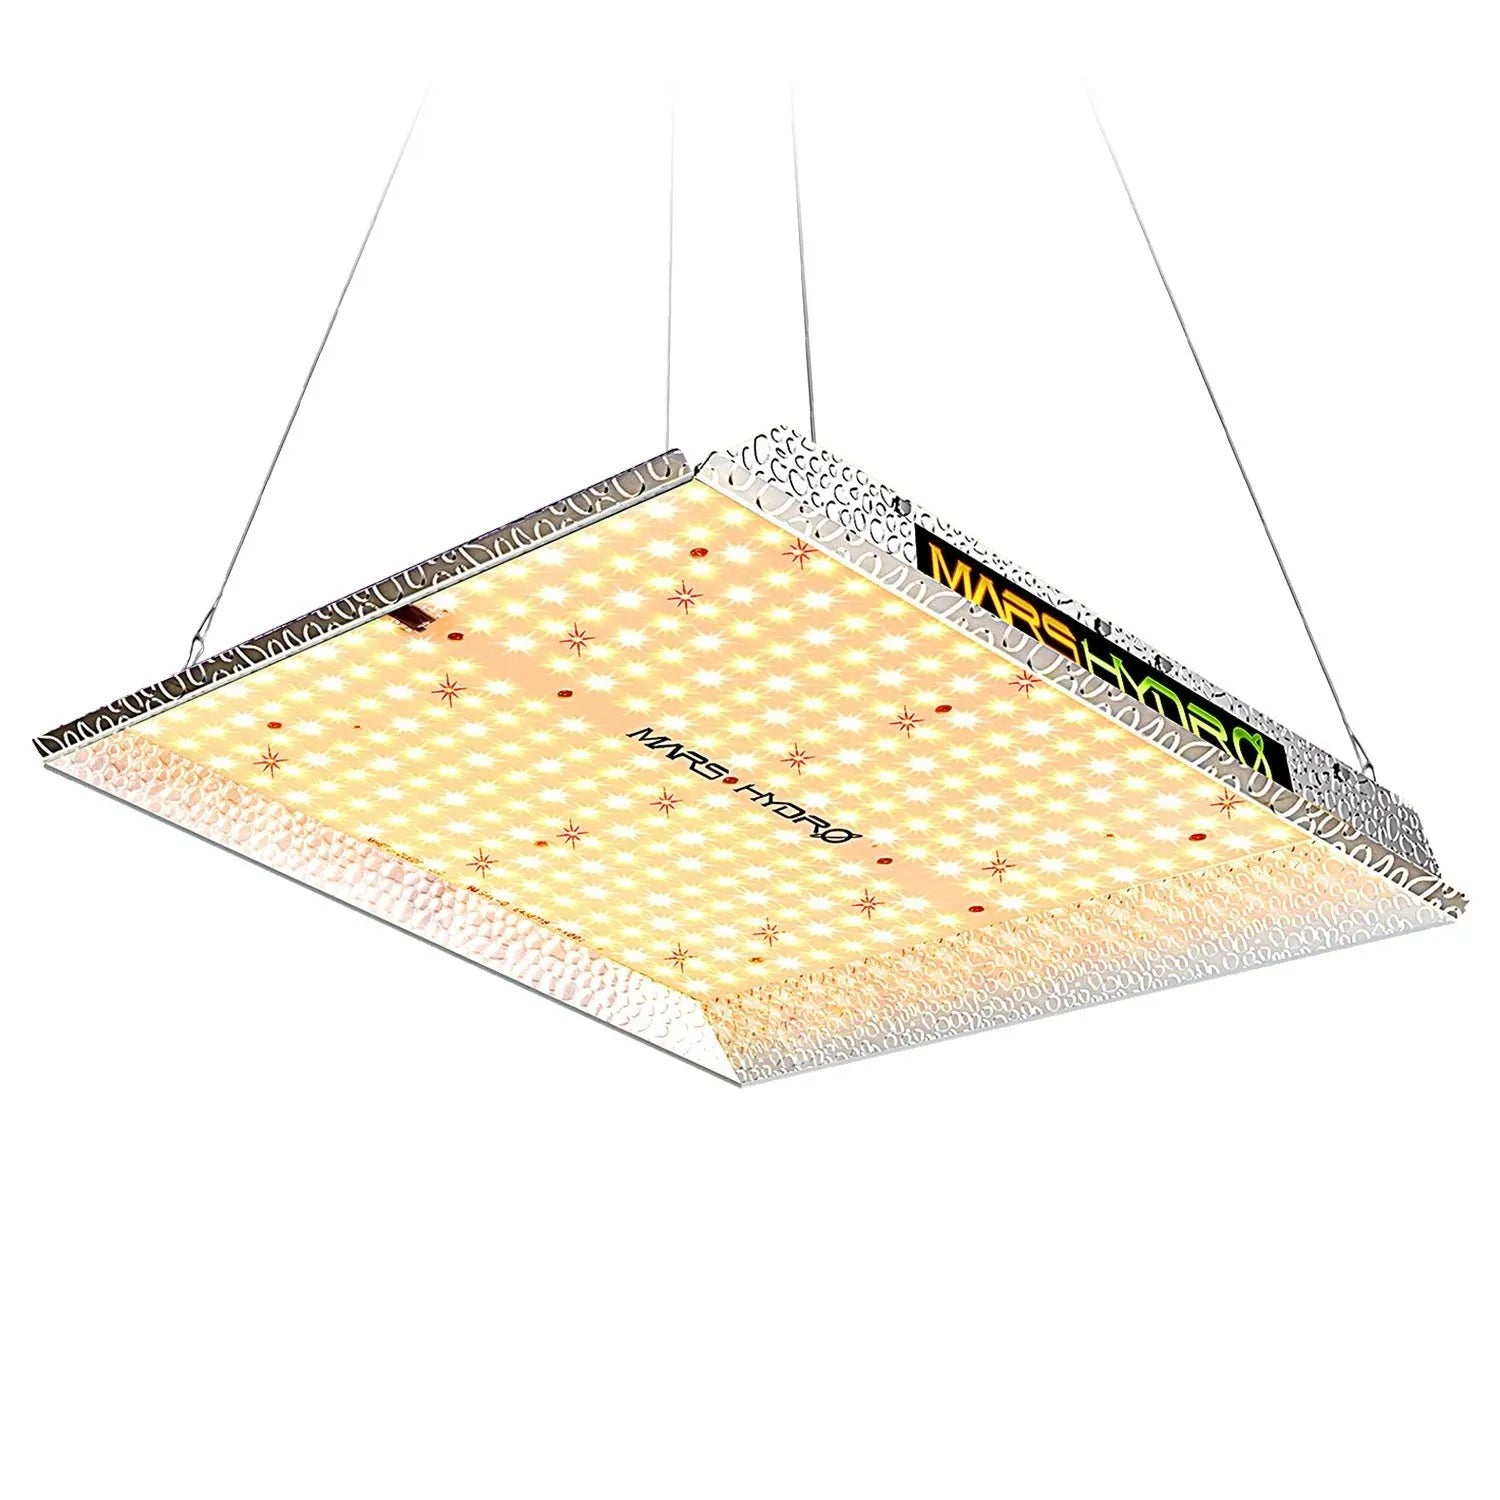
Mars Hydro
Marshydro TS 1000 Complete Kit | 1m x 1m Mini Greenhouse Kit
Complete Growi...
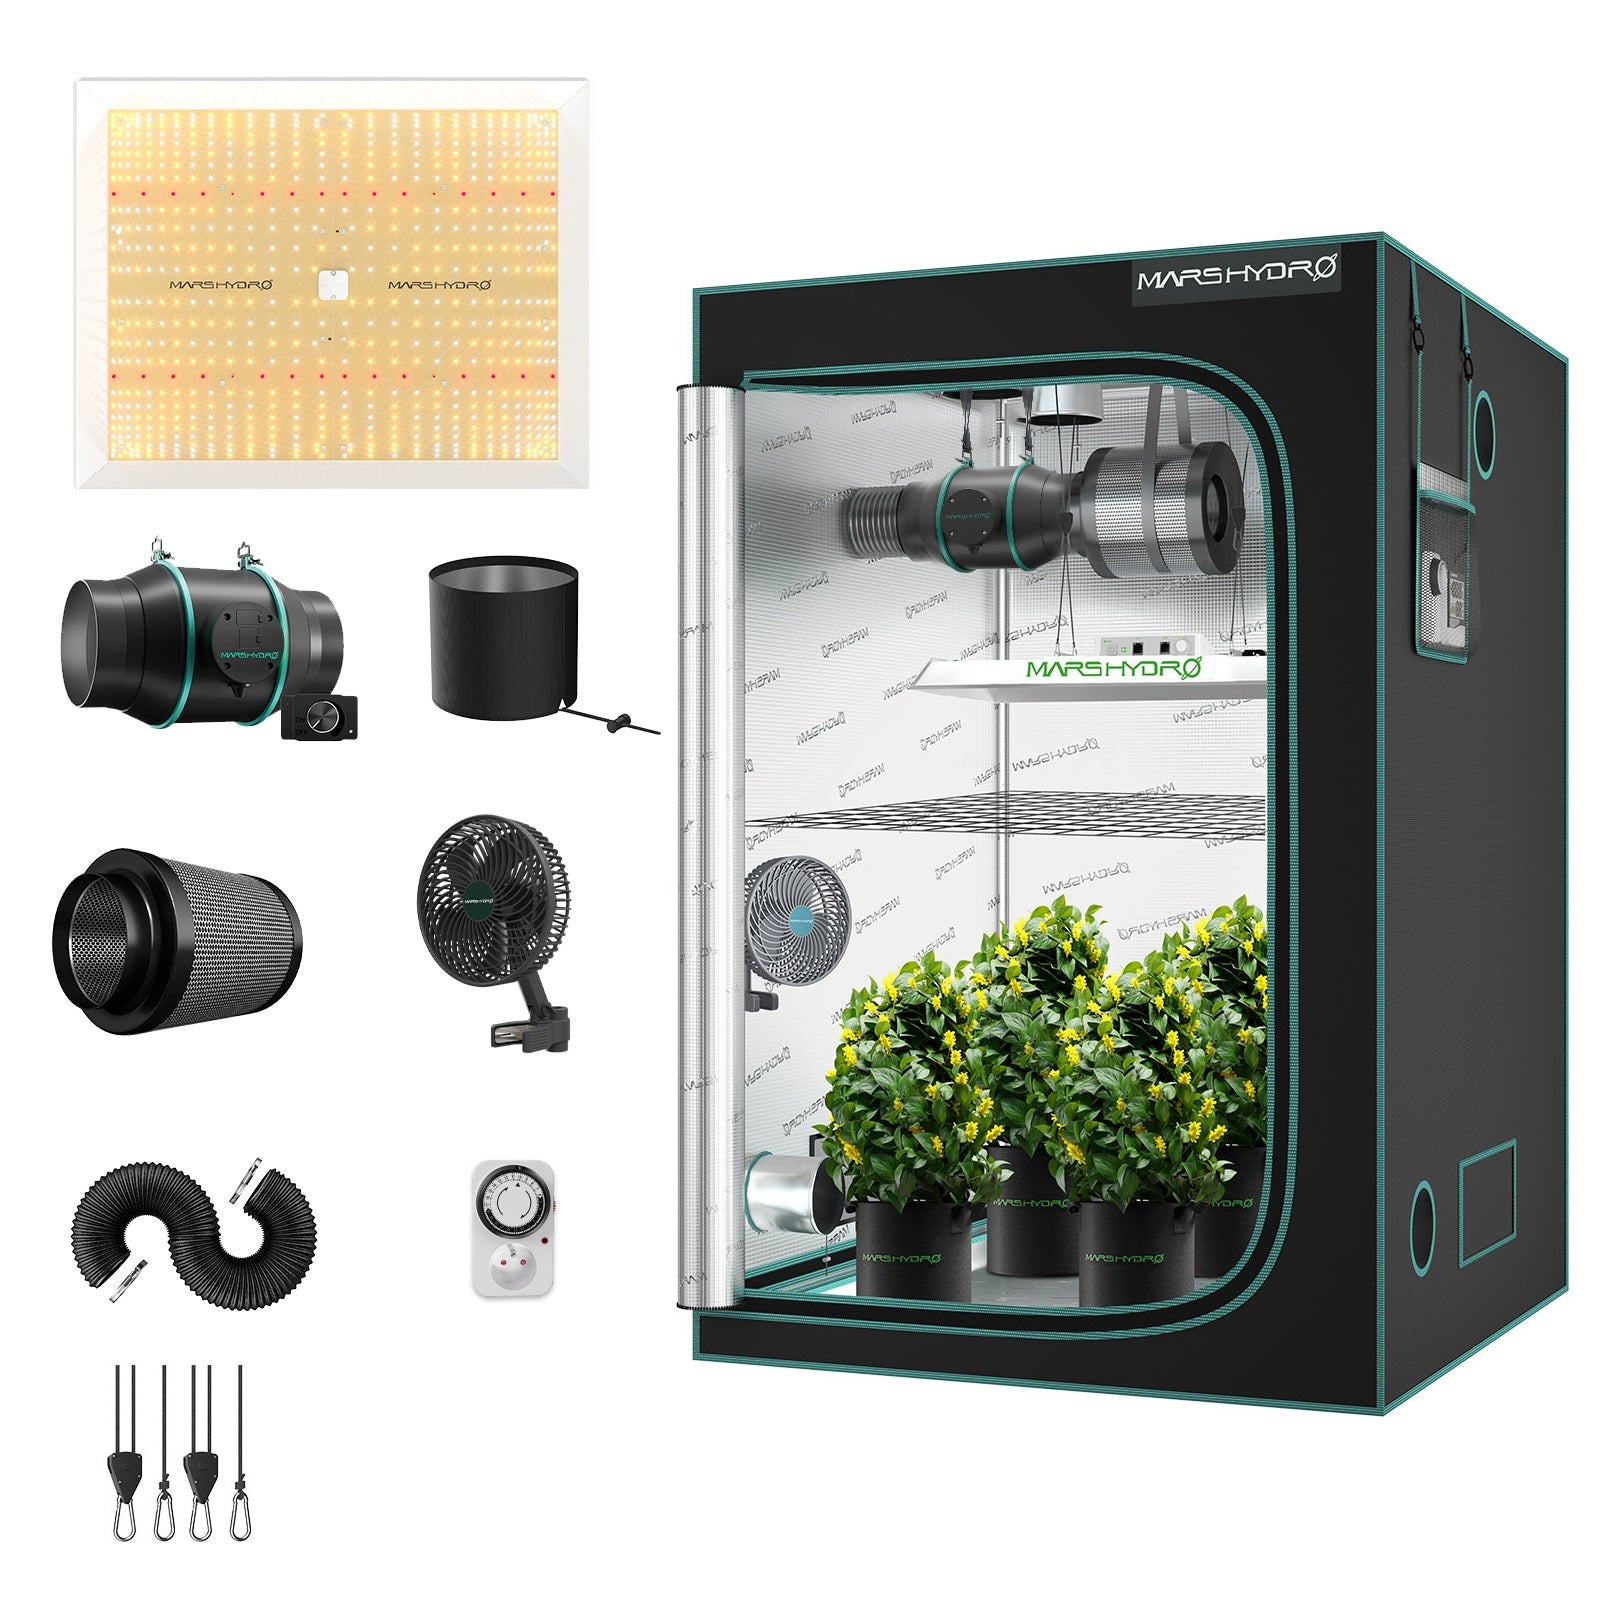
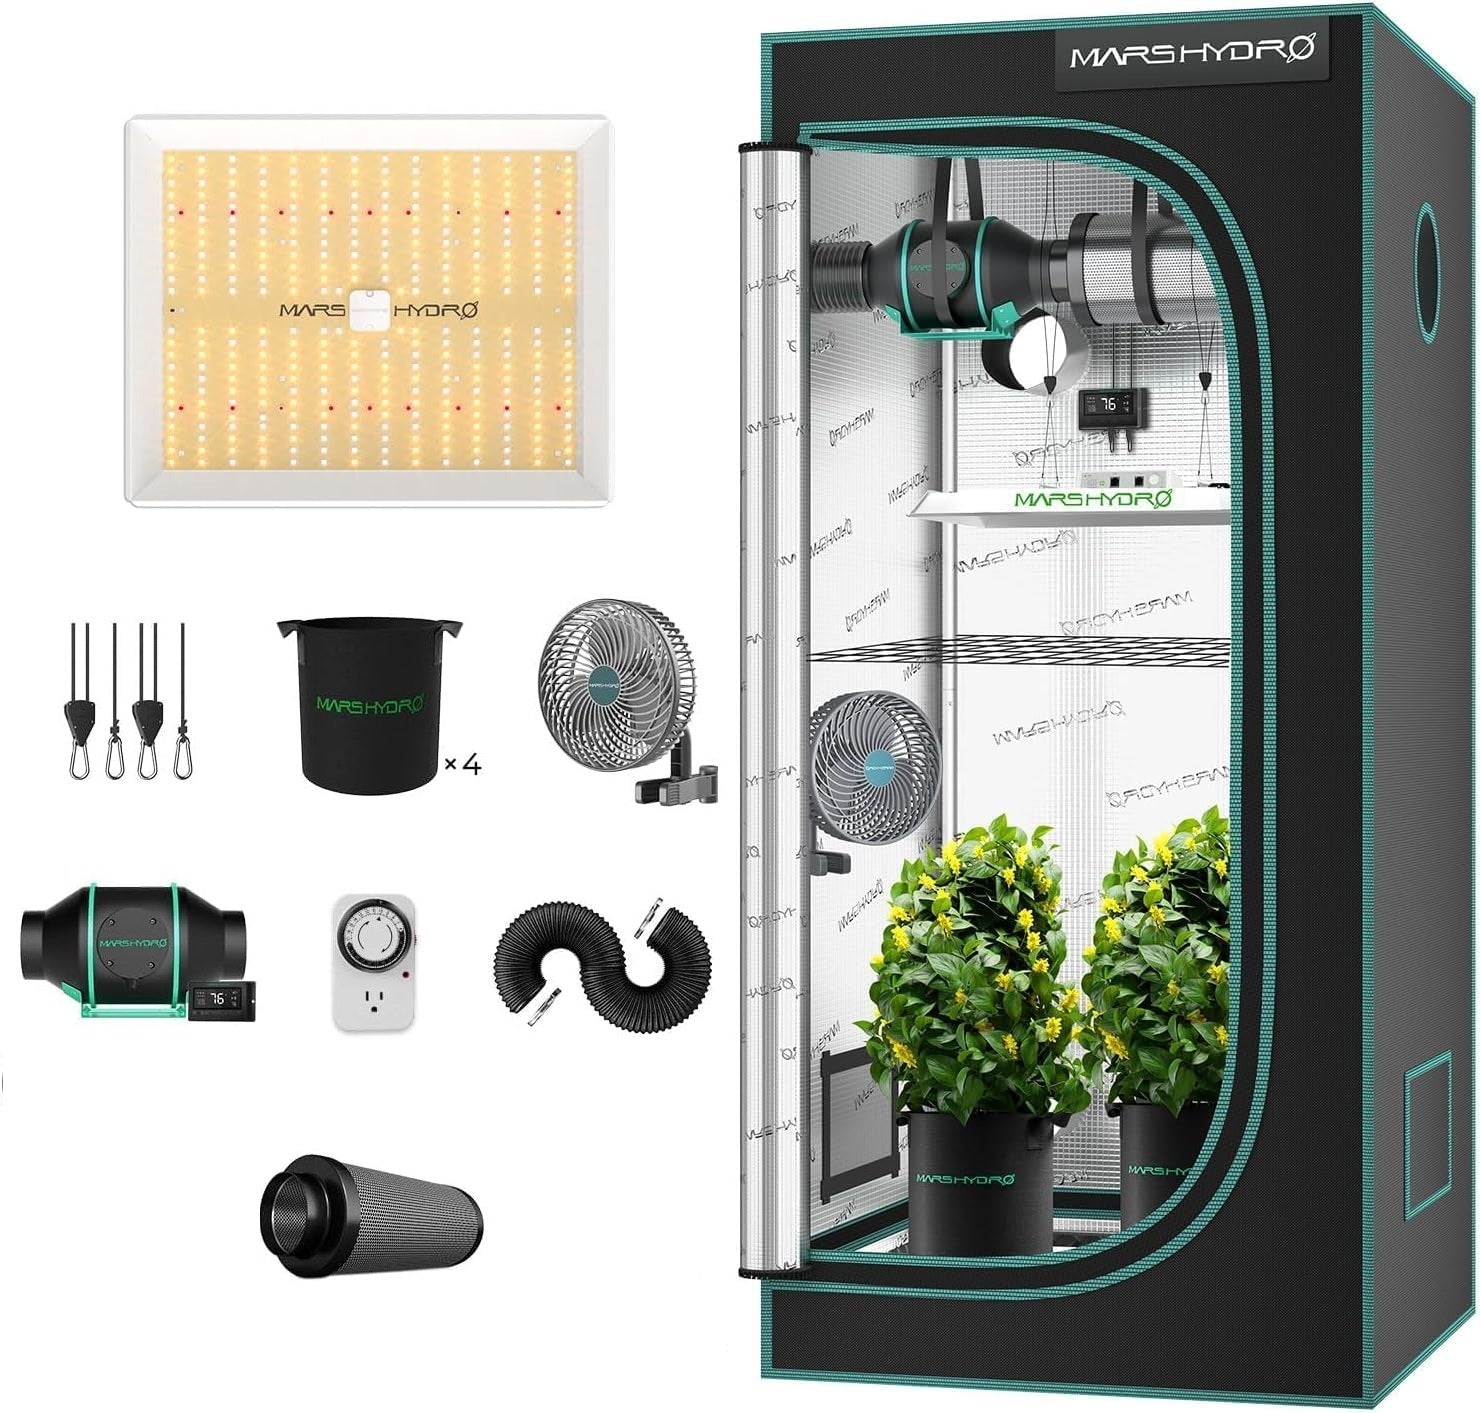
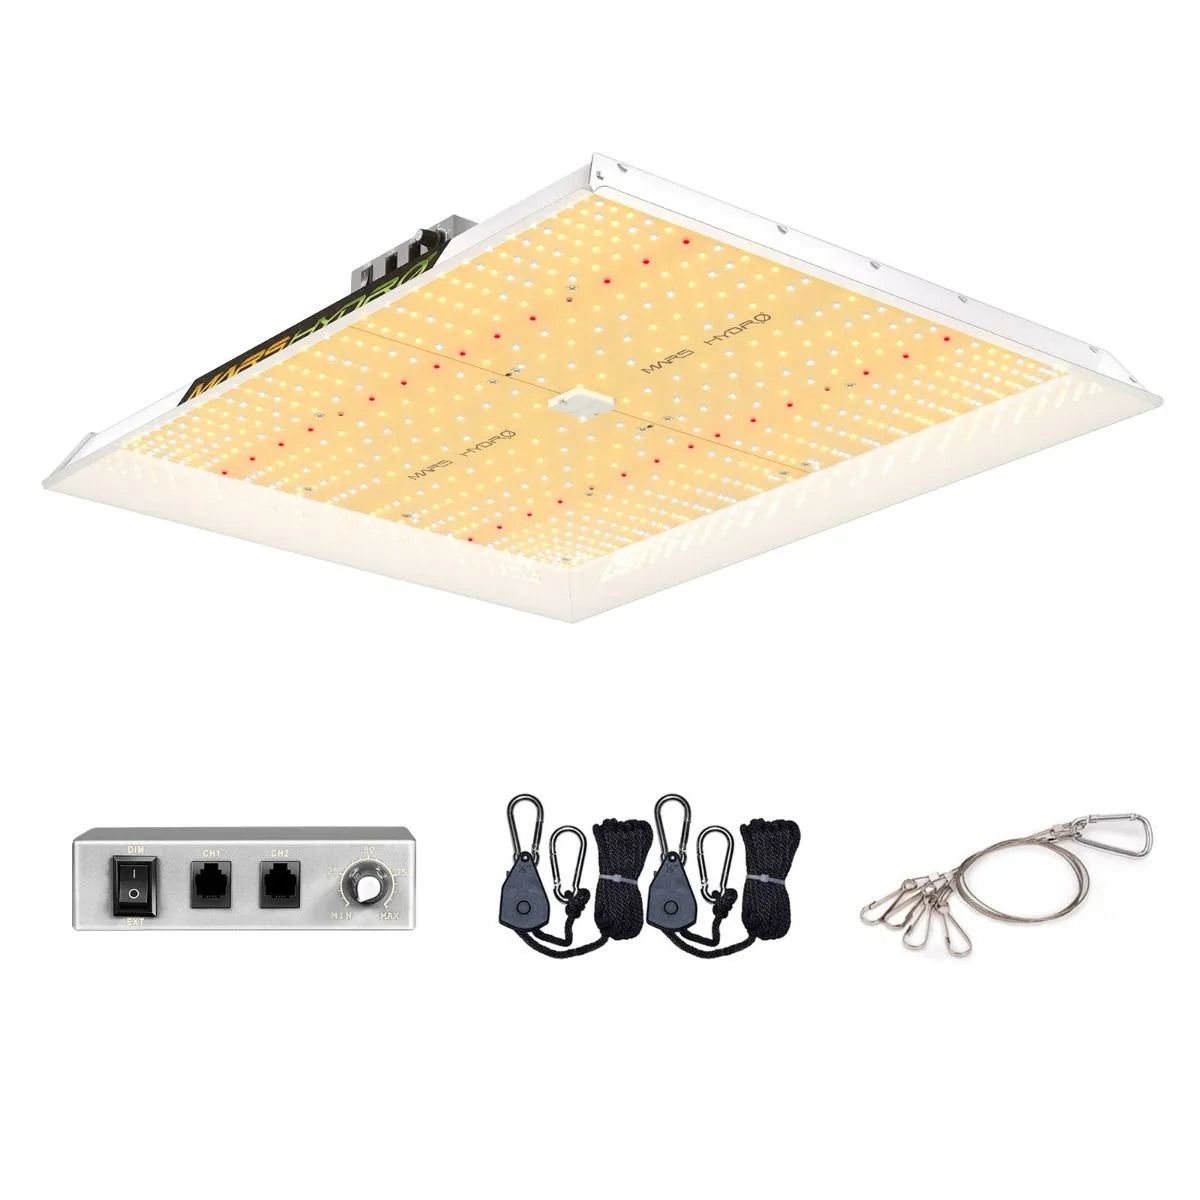
Mars Hydro
Marshydro TSW 2000 Complete Kit | 120cm x 120cm Mini Greenhouse Kit
Complete Growi...

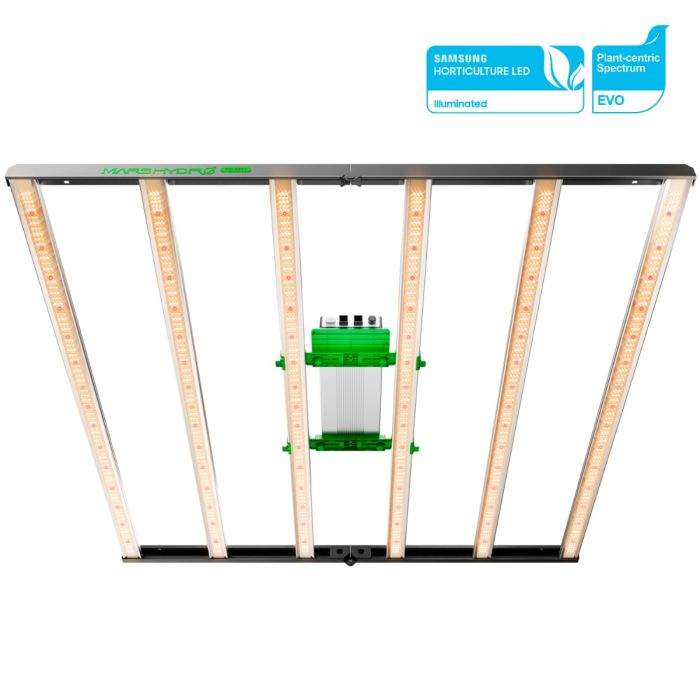
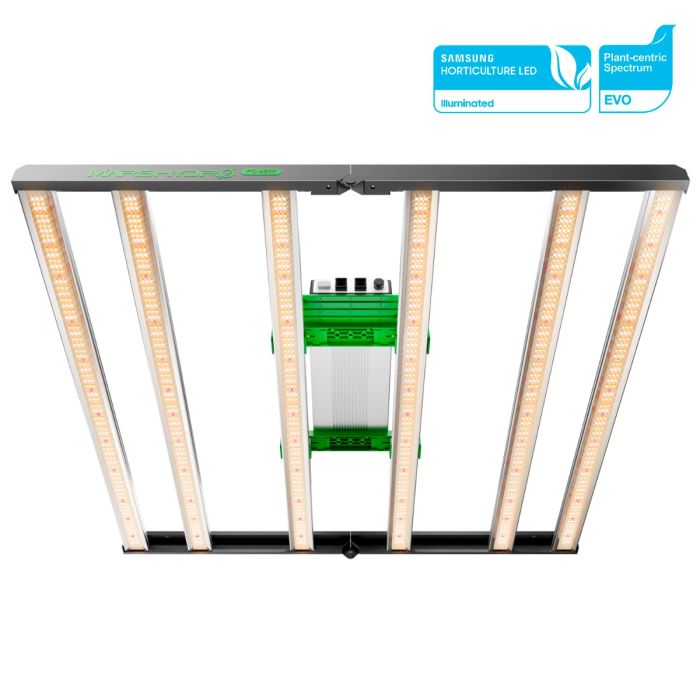
Spider Farmer
Spider Farmer® SE1200W EVO
Commercial Grade SE Series Sa...

Not Sure What You Need?
Use our Smart Configurator to get personalized equipment recommendations based on your space and goals.
Launch Configurator